As a sports flooring contractor or facility manager, maintaining the look, safety, and longevity of a hardwood gym floor is a top priority. A beautiful, high-gloss floor is more than just visually impressive; it is essential for athletic traction, impact safety, and protection against heavy foot traffic.
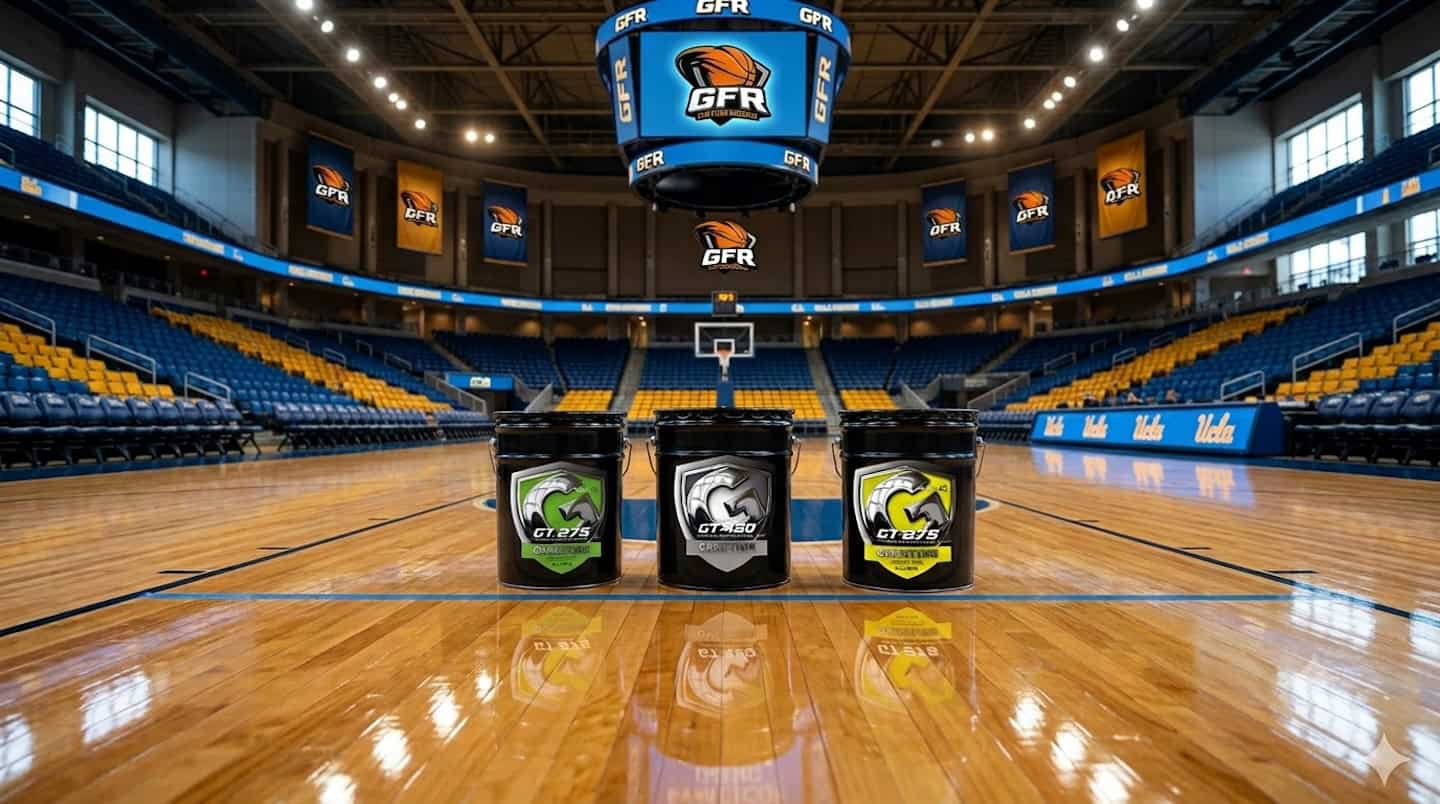
When it comes to durability, deep amber warmth, and long-lasting protection, professional crews consistently rely on oil-based wood sports floor finishes.
In this comprehensive guide, we cover the exact step-by-step procedures for using premium Gametime Oil-Based Finishes and sanding products from Virginia Abrasives. Whether you are executing a new floor installation, comprehensive Full Sand & Refinish on an old court, or performing an annual Screen & Recoat to restore structural traction, this guide will help you achieve a flawless finish.
1. The Premium New Court & Full Sand & Refinish Specification
This procedure applies to brand-new hardwood sports floor installations or existing wood sports floors where the old coatings have turned amber, worn down to raw wood, or suffered deep surface irregularities.
Phase A: Precision Sanding & Preparation
- Step 1: The Coarse Initial Cut. Sand the floor using a heavy-duty drum sander equipped with premium Virginia Abrasives Sanding Belts or Rolls. Select a grit coarse enough to cleanly strip away old layers of finish or flatten over-wood on brand-new wood installations.
- Step 2: Progressive Sanding Sequence. Step through your progressive grits on your drum and edge sanders, finishing with 100 grit. Pro Tip: Never skip more than a single grit in your progression to ensure a perfectly smooth surface profile.
- Step 3: Final Screen Sanding. For your final sanding pass, remove minor drum marks by screen-sanding the entire floor using Virginia Abrasives 120 Grit Screen Discs mounted under a standard rotary sanding machine.
⚠️ SAFETY ALERT: Prevent Spontaneous Combustion Thoroughly clean up all wood dust. Sanding dust soaked with solvents or oils can catch fire on its own. Empty vacuum bags immediately and safely throw away all dust outside the building in approved containers.
Phase B: Sealer Application & Intercoat Abrasion
- Step 4: First Sealer Coat. Apply your first coat of premium Gametime Oil-Based Sealer. Target a coverage rate of 400 sq. ft. per gallon. Note: Coverage may vary based on structural expansion built into the court and how dry the timber is.
- Step 5: Dry Time & First Abrasion. Allow the sealer coat to dry for at least 8 hours. Once dry, abrade the entire surface using Virginia Abrasives 150 Grit Screen Discs to cut down raised grain and create a mechanical profile.
- Step 6: De-dusting. Thoroughly vacuum and tack the floor with clean microfiber tack cloths until it is completely clear of dust particles.
- Step 7: Second Sealer Coat. Apply your second coat of Gametime Oil-Based Sealer at a tighter coverage rate of 500 sq. ft. per gallon. Let this dry overnight, then repeat the 150-grit screen abrasion, vacuuming, and tacking steps.
Phase C: Game Lines, Graphics, & Topcoat Layers
- Step 8: Precision Painting. Layout and paint all game lines, court borders, and custom facility logos using ultra-durable, high-opacity Gametime Chameleon Paints.
- Step 9: Paint Deglossing. Once the game line paint is fully dry, gently degloss all painted areas using a fine Maroon Buffing Pad. Clean up the residue by repeating the standard vacuum and tack process.
- Step 10: First Finish Build Coat. Apply your first coat of premium Gametime Oil-Based Finish at a coverage rate of 500 sq. ft. per gallon. Allow to dry overnight.
- Step 11: Final Intercoat Prep. Abrade the first finish coat with Virginia Abrasives 150 Grit Screen Discs, then vacuum and tack until immaculate.
- Step 12: Topcoat Application. Apply your final coat of Gametime Oil-Based Finish at 500 sq. ft. per gallon and allow to cure undisturbed.
🕒 Mandatory Curing & Recovery Timeline
- 72 Hours: Light foot traffic is permitted (soft-soled athletic shoes only).
- 14 Days: Safe for full athletic play and regular sports activities.
- 30 Days: Do NOT cover the floor, roll out heavy bleachers, or use any wet cleaning chemicals.
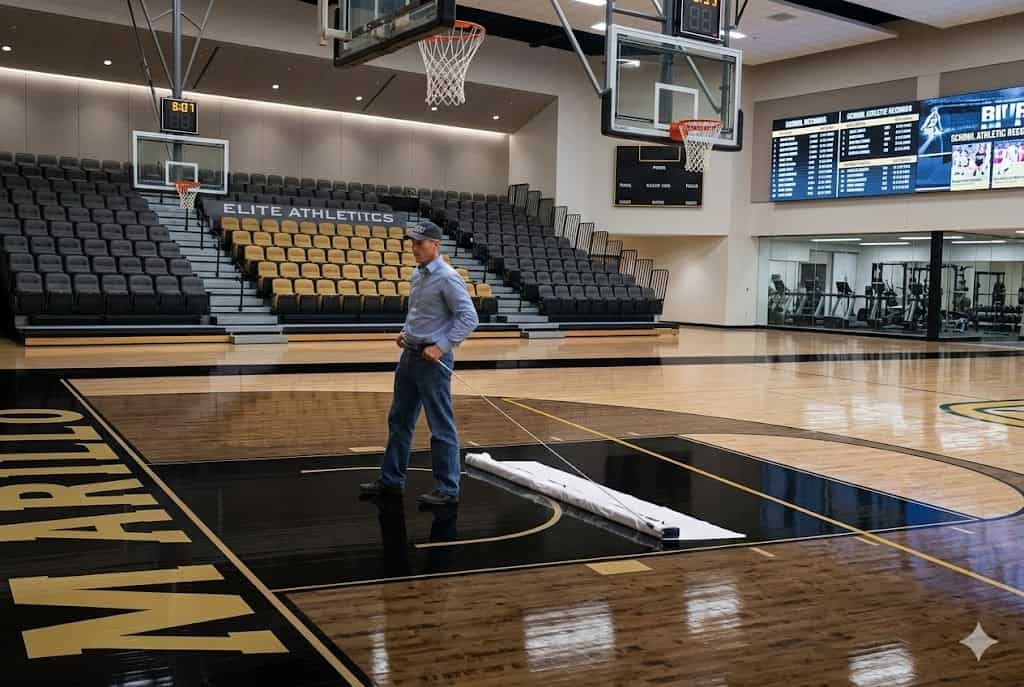
2. The Regular Maintenance Screen & Recoat Protocol
For sports facilities requiring routine annual maintenance, a full sand down is unnecessary if the underlying structure is sound. The Screen and Recoat method saves weeks of downtime, cuts costs significantly, and restores vital athletic traction.
Step-by-Step Execution:
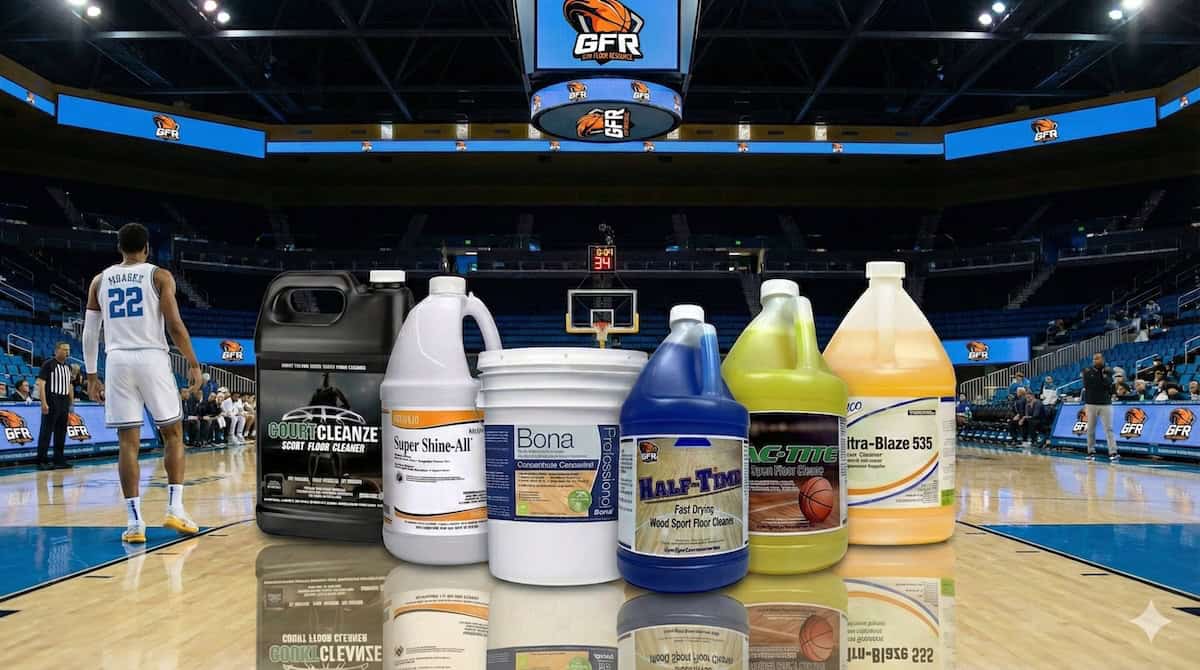
- Deep Cleaning & Prep: Scrub the existing wood floor with an industrial floor machine and a specialized cleaner to remove grease, sweat, floor wax, and surface contaminants. Let it dry completely.
- Surface Abrasion: Screen sand the entire court area using Virginia Abrasives 120 Grit to 150 Grit Screen Discs. This removes surface scuffs and creates a rough texture so the new finish sticks well.
- Dust Removal: Vacuum the entire area thoroughly and use micro-fiber tacks until no dust remains.
- Optional Touch-ups: Repair any minor game line fading using Gametime Chameleon Paints (ensure proper drying and light pad deglossing before top-coating).
- Finish Application: Apply a fresh maintenance coat of Gametime Oil-Based Finish at 500 sq. ft. per gallon using a heavy-duty applicator bar. Follow the same 72-hour light traffic and 14-day full play curing requirements.
Product Coverage Reference Guide
| Product Description & Use Case | Recommended Coverage | Mandatory Cure/Dry Intervals |
|---|---|---|
| Gametime Oil-Based Sealer (Coat 1) | 400 sq. ft. / gal | 8 hours minimum before abrasion |
| Gametime Oil-Based Sealer (Coat 2) | 500 sq. ft. / gal | Overnight dry before paint/abrasion |
| Gametime Chameleon Paints | Per project layout | Dry completely before maroon pad deglossing |
| Gametime Oil-Based Finish (Build & Topcoat) | 500 sq. ft. / gal | Overnight dry between coats; 14 days full play |
🛒 Ready to Start Your Next Flooring Project?
Don’t let your court lose its edge. Get professional-grade materials directly from our warehouse to your gym door:
- Stock up on Virginia Abrasives Sanding Belts and Screen Discs for an ultra-smooth floor profile.
- Secure your coats of Gametime Oil-Based Sealer and Gametime Oil-Based Finish for premium protection.
- Explore crisp color schemes with Gametime Chameleon Paints.